Free AI photo enhancement has become one of the most searched photo tasks online. People want to rescue a blurry holiday photo, sharpen a product shot or clean up a grainy picture from a party. Plenty of tools promise to do it in one click and at no cost.
The editing part is usually free. The surprise often comes at the end, when you try to save the result. That is why the smartest way to choose a tool is to work backwards: start with the file you need, then check whether the free path can deliver it.
Table of Contents
Free to open, free to edit, free to export
It helps to split the word “free” into three separate promises:
- Free to open. You can sign in and load your photo.
- Free to edit. You can apply enhancements and see the preview.
- Free to export. You can download a clean file at the size you need.
Most tools are generous with the first two. The third is where plans differ. Depending on your account and region, an export might include branding, have a lower resolution limit or offer fewer formats. Knowing what stays free after export is the single most useful thing to check before investing time in a photo.
Run a test export first
Before enhancing an important photo, try the whole process on a low-stakes image. Then inspect the downloaded file, not the preview:
- Look for a watermark. Zoom to 200% and check every corner.
- Check the pixel size. Compare it with what your website, printer or client needs.
- Confirm the format. Make sure you get JPG, PNG or whatever your destination expects.
- Reopen the project. Check that you can come back later and keep editing.
If the test passes, run the real photo through exactly the same steps.
It is worth repeating this check from time to time. Plans, features and regional rules can change, so a tool that gave you a clean export a few months ago may behave differently today. A quick test before an important job takes a couple of minutes and can save hours of rework.
Match the export to the destination
Think about where the photo is going before you test. A blog image, a printed flyer and a marketplace listing all have different size and format needs. Write those requirements down, then compare them with what the free export actually delivers. If the free file falls short, you will know before any real work is lost.
How enhancement actually works
A good enhancer works on the photo you already have. It aims for sharper edges, less grain and more balanced colour, without swapping your subject for something generated. Some tools also include an upscale option that increases resolution.
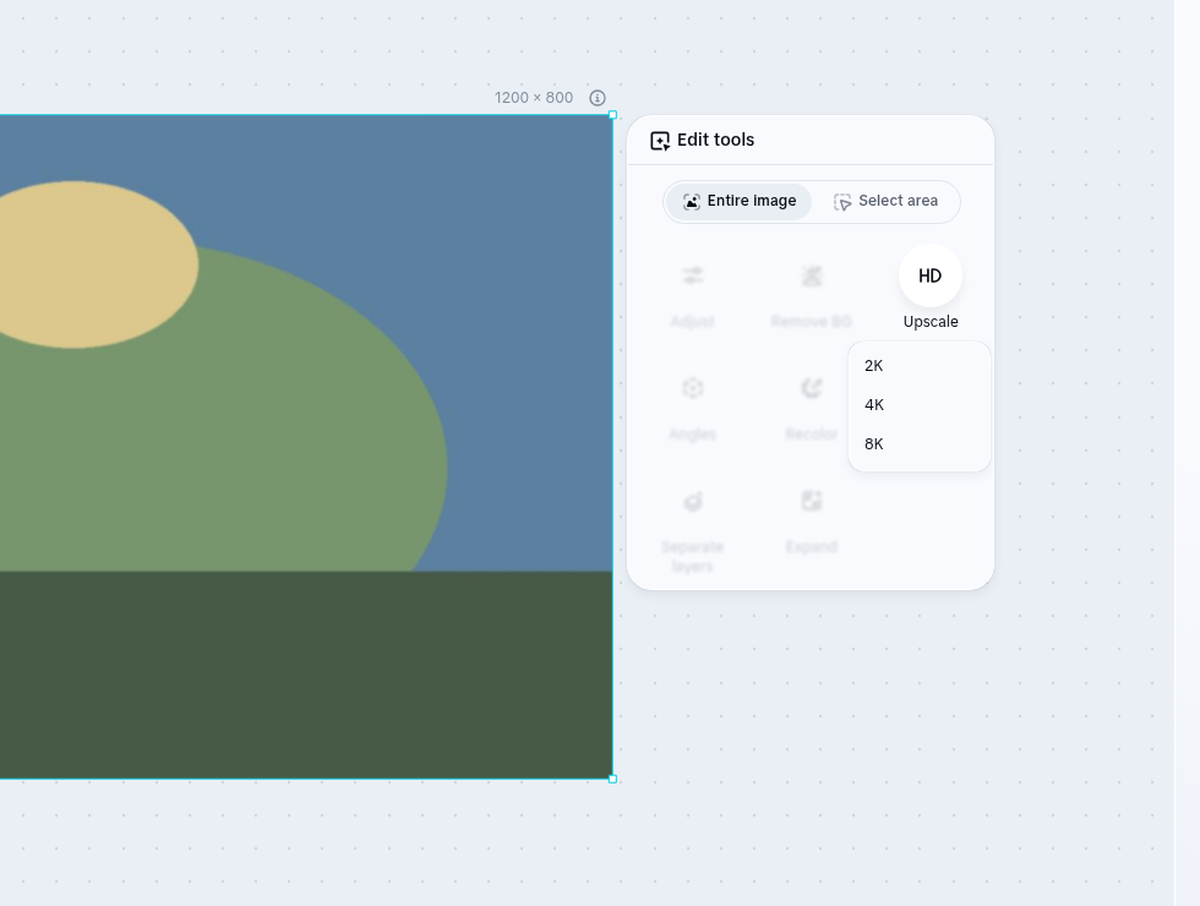
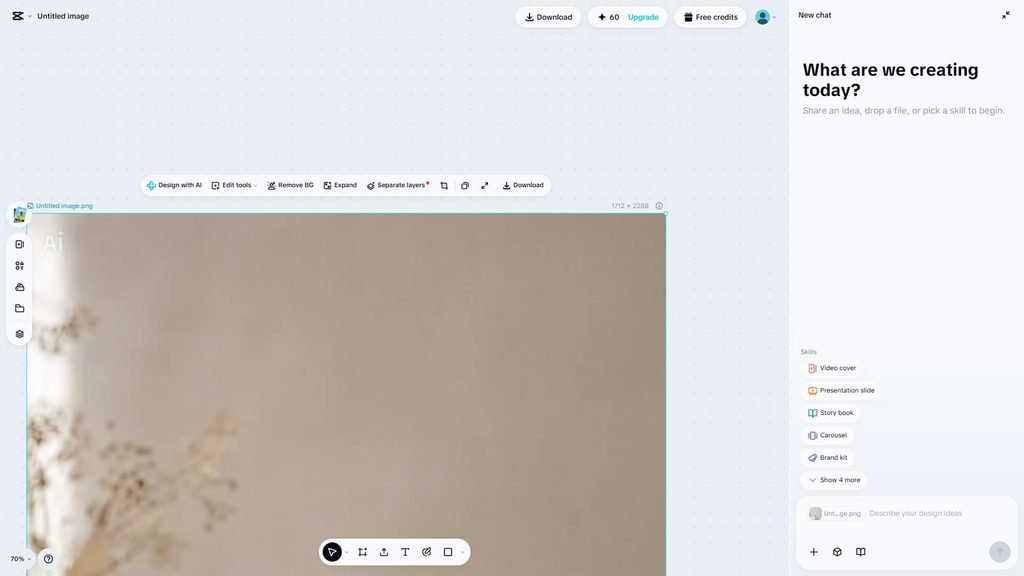
The usual process is straightforward. You upload the highest-quality original you can find, select the image, open the AI tools and choose the enhance or upscale option. After that, you can fine-tune with filters or colour adjustments and then download in your chosen format. CapCut’s image enhancement guide walks through these steps and notes that menu labels can vary by platform and region.
Check the enhanced result honestly
AI enhancement can look impressive on a small preview while hiding problems at full size. Before you export the final version, compare the result with the original at 100% and look for:
- Bright halos around hair, leaves or product edges.
- Skin that looks smooth and waxy instead of natural.
- Small text that has warped or turned into fake letters.
- Colours that have shifted, especially skin tones and brand colours.
- Detail that was never there, such as extra patterns or lashes.
If you spot these issues, try a lighter enhancement or start again from the original.
When not to enhance
Enhancement is not always the answer. Skip it if:
- The photo is already sharp and high-resolution.
- Exact colours matter, such as for print or brand material.
- The image shows a face where identity must be preserved precisely.
- The real problem is the composition, not the quality.
In those cases, the best result usually comes from leaving the image alone, reshooting or using a different kind of edit.
Frequently asked questions
Is free AI photo enhancement really free?
Starting and editing are often free. Export rules such as watermarks, resolution limits and formats can depend on your plan and region, so check a test file.
Why does my enhanced photo look worse at full size?
Previews hide flaws. Enhancement can create halos, waxy skin and fake detail, which only show when you zoom in. Use a lighter setting and compare with the original.
Which format should I export in?
JPG works well for most photos online. PNG is useful when you need sharp graphics or transparency. Choose based on where the image will be used.
The takeaway
Free AI photo enhancement can be genuinely useful, but only if the final file meets your needs. Test the export first, enhance from the best original you have, inspect the result honestly and keep your expectations realistic. That way, the only surprise is how good the photo looks.